Transforming your bathroom into a personal spa with a steam shower is the ultimate self-care upgrade. From relaxation to skin rejuvenation, steam showers offer unparalleled benefits, but achieving that dreamy steam environment requires precision. The most critical element? Learning how to frame a shower ceiling for a steam shower correctly to ensure durability and functionality.
But first, why is it essential? Unlike standard showers, steam showers generate intense heat and moisture, requiring a sloped ceiling to prevent condensation from dripping on you mid-relaxation. Proper framing not only ensures durability but also enhances the overall functionality and aesthetic of your shower.
So, how to frame a shower ceiling for a steam shower while keeping it stylish and effective? With the right materials, careful planning, and attention to detail, you can create a sanctuary that’s as luxurious as it is durable. Whether you’re envisioning a sleek, modern design or a cozy retreat, the process begins with understanding the fundamentals.
In this guide, we’ll take you through the step-by-step process, from planning the perfect slope to choosing moisture-resistant materials. Get ready to turn your bathroom into a high-end relaxation hub. Let’s dive in and make your steam shower dreams a reality! 🚿
Now, grab your tools, and let’s get started! 🌟
Why Does a Steam Shower Ceiling Need Special Framing?
A steam shower is a luxurious addition to any bathroom, but understanding how to frame a shower ceiling for a steam shower is crucial for making it work effectively. Unlike standard showers, steam showers produce intense heat and humidity, creating an environment where moisture management is critical. This is why a sloped ceiling is essential. Without a slope, condensed steam collects on a flat ceiling and drips directly onto you, disrupting your relaxation experience. A slope of 1–2 inches per foot ensures water flows away from the center, keeping your steam sessions comfortable and uninterrupted.
Beyond comfort, proper framing is vital for the ceiling's structural integrity. Moisture and heat can wreak havoc on materials not designed to withstand them. Incorrectly framed ceilings may warp, crack, or develop mold over time, turning your serene retreat into a costly headache. By using moisture-resistant materials, like cement board and vapor barriers, and ensuring a solid frame, you’ll protect your investment and enhance the durability of your steam shower.
In essence, the ceiling framing is the backbone of your steam shower, supporting its functionality and ensuring a premium experience. With the right planning and materials, you can create a spa-like haven that combines relaxation with lasting quality. 🛁
Step 1: Plan the Slope and Dimensions
Creating the perfect steam shower starts with knowing how to frame a shower ceiling for a steam shower. Proper planning ensures that the ceiling slope of 1–2 inches per foot ensures that condensed steam doesn’t gather on the ceiling and drip down, preserving the relaxing experience you’re designing. Instead, the slope encourages condensation to slide toward the walls, keeping you comfortable while soaking up the benefits of steam therapy.
Start by measuring your shower space carefully. Most steam showers are compact, so the dimensions of your ceiling should align with the overall size of the enclosure. Consider your shower’s height as well; ceilings too low can feel cramped, while excessively high ceilings may lead to heat loss. A standard ceiling height of 7–8 feet is ideal for maintaining heat and steam.
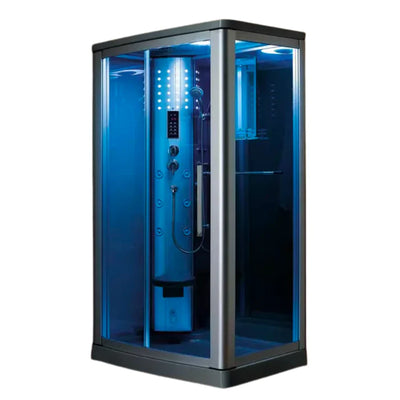
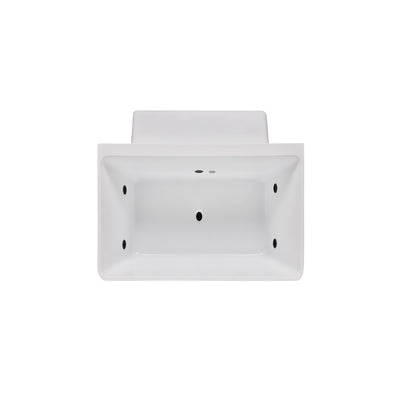
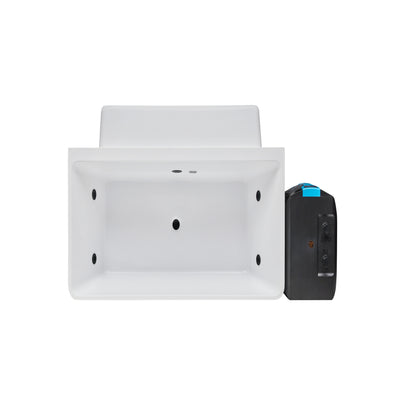
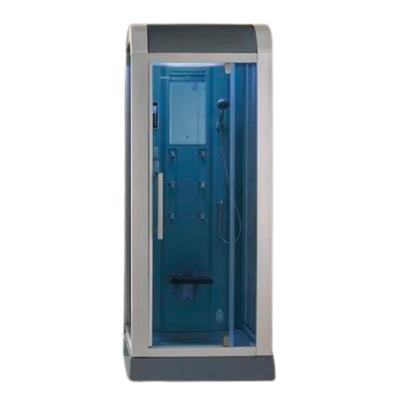
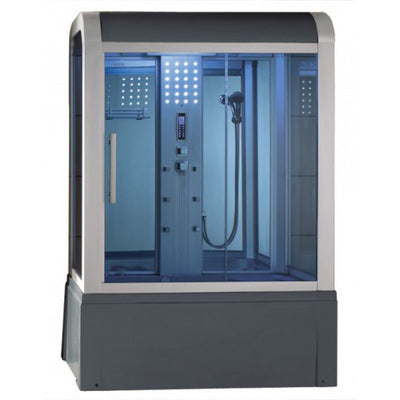
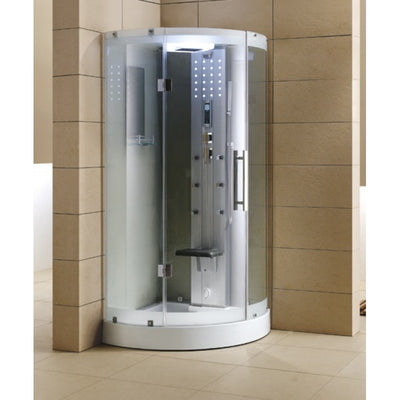
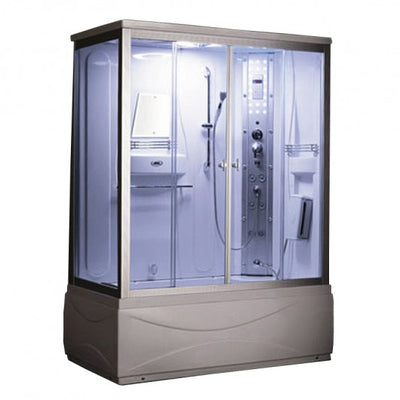
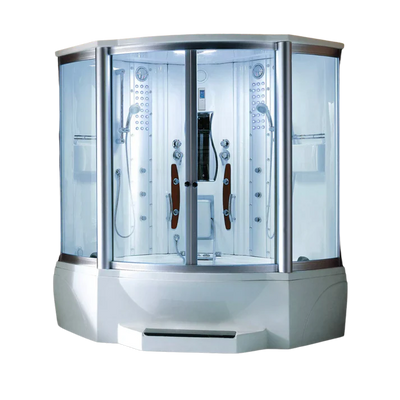
Pro Tip: Sketch your design beforehand to visualize the layout and ensure the slope integrates seamlessly with the rest of your shower. Tools like the Mesa WS-608A Steam Shower can serve as inspiration, showcasing compact yet functional steam shower designs.
Proper planning at this stage ensures a flawless foundation for the rest of your project, setting the stage for a luxurious and effective steam shower experience. 🚿
Step 2: Gather Materials and Tools
You're beginning to better understand how to frame a shower ceiling for a steam shower. But, before you dive into the actual process, it’s essential to gather the right materials and tools. Steam showers create an intense combination of heat and moisture, so every element you use must be equipped to handle these conditions.
Here’s what you’ll need:
Moisture-resistant wood or metal studs: These form the sturdy framework for your ceiling. Metal studs are particularly resistant to warping in high-moisture environments.
Vapor barriers: A heavy-duty polyethylene sheet will block steam from seeping into the walls and ceiling.
Insulation: Closed-cell foam is an excellent choice, providing both thermal resistance and moisture protection.
Cement backer board: This serves as the base for your tiles, ensuring a durable and water-resistant surface.
A level and framing square: These tools help you achieve the proper slope and ensure your framing is precise.
"Moisture-resistant materials are critical in preventing mould and ensuring longevity," advises This Old House. For an in-depth explanation of material choices, explore their steam shower guide.
By starting with the right materials and tools, you’ll set the stage for a steam shower ceiling that’s not only functional but built to last. Taking the time to prepare now ensures you can relax worry-free later. 🚿
Step 3: Build the Frame
If you're wondering how to frame a shower ceiling for a steam shower, this is the step where the the main show happens! With your materials ready, it’s time to start building the frame for your steam shower ceiling. This step lays the foundation for the sloped structure that ensures optimal steam flow and prevents unwanted condensation. Let’s break it down step by step:
Mark Your Slope: Start by using a level to mark the slope on your ceiling joists. Remember, the ideal slope is 1–2 inches per foot, directing water condensation away from the seating area. This is crucial for a comfortable and relaxing steam experience.
Install Support Beams: Once your slope is marked, secure additional framing supports to create the angled ceiling. If you’re using metal studs, you’ll find them easier to shape and adjust for the required slope.
Attach Insulation: Between the joists, apply closed-cell foam or fiberglass insulation. Insulation not only retains heat but also prevents energy loss, ensuring your steam shower operates efficiently.
Add a Vapor Barrier: Finally, apply a heavy-duty polyethylene vapor barrier over the insulation. This prevents moisture from penetrating the walls and ceiling, protecting your framing from rot and mold over time.
Building the frame with precision ensures a solid, moisture-resistant foundation for your steam shower. With each step, you’re one step closer to your dream spa-like retreat! 🚿
Step 4: Install Cement Backer Board
A key part of learning how to frame a shower ceiling for a steam shower is understanding the importance of installing cement backer board (now that the frame, insulation, and vapor barrier are in place). This crucial component provides a strong, moisture-resistant foundation for your steam shower tiles, ensuring longevity and durability in a high-humidity environment.
Start by cutting the cement backer board to fit the dimensions of your sloped ceiling. Use a utility knife or a circular saw with a carbide-tipped blade for clean, precise cuts. Once cut, secure the backer board to the framing using corrosion-resistant screws, ensuring a snug fit. Position screws about 8 inches apart to keep the board firmly in place.
Remember, the edges of the backer board should align tightly to prevent gaps where moisture could seep through. If needed, trim the boards slightly to achieve a perfect fit. Use waterproof tape to seal the seams between each board, creating a unified, watertight surface.
Pro Tip: Cement backer board is essential; don’t substitute it with drywall. Unlike drywall, which absorbs moisture and deteriorates quickly, cement board resists water, mold, and warping, making it the only reliable option for steam showers.
With the backer board installed, your steam shower ceiling is now ready for its final layer: tile. The hard work pays off as you move closer to completing your luxurious, spa-like retreat! 🚿
Step 5: Final Touches Before Tiling
With your cement backer board securely in place, it’s time to prep your steam shower ceiling for tiling. This step is all about ensuring durability and waterproofing while double-checking every detail to guarantee a flawless finish.
Seal the Seams: Use waterproof tape to cover all the seams between the cement backer boards. This creates a watertight barrier, preventing steam or moisture from sneaking through tiny gaps. Be meticulous; well-sealed seams are key to keeping your ceiling free of leaks or mold.
Apply a Waterproof Membrane: Once the seams are taped, coat the entire backer board surface with a waterproof membrane. Roll or brush the membrane on evenly, ensuring every inch of the backer board is covered. This added layer of protection is essential for handling the high humidity levels in a steam shower.
Double-Check the Slope: Grab your level and confirm that the ceiling’s slope is still within the recommended range of 1–2 inches per foot. A properly sloped ceiling directs condensation away from the center, ensuring a more comfortable steam experience.
These final touches reinforce the structure and prepare it for tiling. Now your steam shower ceiling is not just functional but fully protected, paving the way for a long-lasting, luxurious retreat. 🚿
Frequently Asked Questions
Since you now have an idea about how to frame a shower ceiling for a steam shower, other questions may crop up in your mind. Let's tackle a couple of them.
Q: Can I use drywall instead of cement backer board?
A: No, drywall is not suitable for steam showers. While it’s fine for regular walls, it cannot handle the intense moisture and heat that a steam shower generates. Over time, drywall will absorb moisture, leading to warping, mold growth, and eventual deterioration. Cement backer board, on the other hand, is specifically designed for wet environments. It’s water-resistant, durable, and provides a solid foundation for tiles, making it the industry standard for steam shower construction.
Q: How do I calculate the right slope for my steam shower ceiling?
A: Calculating the slope is simple and essential for a functional steam shower ceiling. Use the formula: height of the highest point minus 2 inches for every foot of ceiling width. For example, if your shower ceiling is 4 feet wide, the slope should result in an 8-inch drop from the highest to the lowest point. This ensures that steam condensation flows toward the walls instead of dripping down onto you during your relaxing steam session.
Proper materials and precise calculations are the foundation of a durable and comfortable steam shower. These FAQs highlight the importance of attention to detail, so your spa-like retreat remains an stress-free zone for years to come. 🚿 If you have more questions about how to frame a shower ceiling for a steam shower, just contact us. Don't feel shy. :)
Why Invest in a Steam Shower?
For homeowners eager to create a luxurious retreat, knowing how to frame a shower ceiling for a steam shower is essential. This knowledge ensures your investment is built to last while maximizing wellness benefits.
You also need to know that a steam shower isn’t just a luxurious addition to your home; it’s an investment in your overall well-being. These innovative shower systems combine functionality and indulgence, offering a host of physical and mental health benefits. Let’s explore why adding a steam shower to your bathroom is a decision you won’t regret.
Steam showers are renowned for their wellness advantages. The soothing steam helps improve blood circulation, easing muscle tension and promoting faster recovery after workouts. For those seeking stress relief, a steam session creates a spa-like environment that melts away worries, leaving you refreshed and rejuvenated. Additionally, steam opens up your pores, promoting clearer, healthier skin with a radiant glow.
From a design perspective, steam showers bring a luxurious, modern aesthetic to your home, enhancing its overall appeal. They can even increase your property’s value by offering potential buyers a unique and desirable feature.
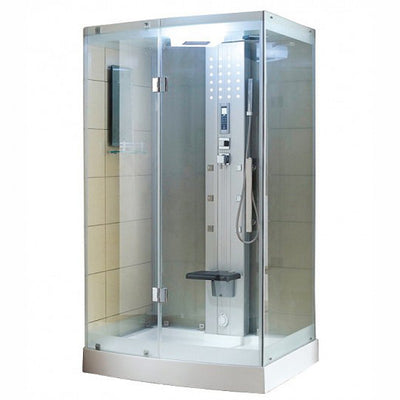
If tackling a DIY project seems daunting, pre-built options like the Mesa WS-609P Steam Shower provide an effortless solution. These units combine elegant design with advanced functionality, ensuring you enjoy all the benefits of a custom steam shower without the hassle of construction.
Investing in a steam shower means prioritizing health, relaxation, and luxury, right in the comfort of your home. 🚿
Bonus Tips for a Durable Steam Shower
Mastering how to frame a shower ceiling for a steam shower is one thing, but maintaining its durability requires some additional considerations. By incorporating these tips, you’ll ensure your steam shower remains functional, stylish, and long-lasting.
Use Waterproof Grout: Regular grout is porous and can allow water to seep through over time, leading to mold or structural damage. Opt for epoxy-based or other waterproof grouts to keep moisture at bay while providing a clean, polished look. Properly sealed grout also makes cleaning easier, helping you maintain that spa-like shine.
Inspect Seals and Membranes Regularly: The seals around your shower door and the waterproof membrane beneath your tiles are the first line of defense against leaks. Check them periodically for cracks or wear, and replace them as needed to prevent costly water damage.
Choose High-Quality Tile Finishes: Durable, non-porous tiles like porcelain or natural stone are ideal for steam showers. Not only do they withstand heat and moisture, but they also elevate the aesthetic appeal of your space with a luxurious finish.
For more practical advice, explore community discussions like this GardenWeb thread, where homeowners and experts share their insights on achieving the perfect steam shower.
By following these bonus tips, you’ll protect your investment and enjoy a spa-like retreat for years to come. 🚿
The Bottom Line
Learning how to frame a shower ceiling for a steam shower may seem like a challenging project, but with the right preparation, tools, and a step-by-step approach, it’s an achievable goal, even for DIY enthusiasts. The key to success lies in careful planning and the use of high-quality, moisture-resistant materials. These elements not only ensure durability but also create a spa-like retreat that’s functional, beautiful, and built to last.
By following the guidelines we’ve outlined, from planning the perfect slope to applying waterproof membranes, you’re setting the stage for a steam shower experience that offers relaxation, wellness, and a touch of luxury. Attention to detail at every step will ensure your steam shower ceiling handles the heat and moisture with ease, providing a retreat that feels indulgent every single day.
Ready to take the next step? Explore our curated selection of steam shower systems, like the Mesa WS-300 SteamShower, designed to bring convenience and style to your home. Whether you choose a DIY approach or a pre-built model, your dream steam shower is within reach.
So grab your tools, channel your creativity, and turn your bathroom into the ultimate relaxation haven. You’ve got this! 🚿
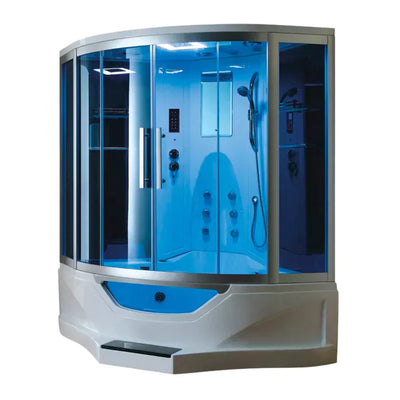
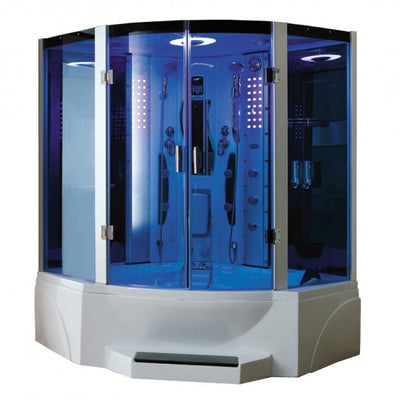
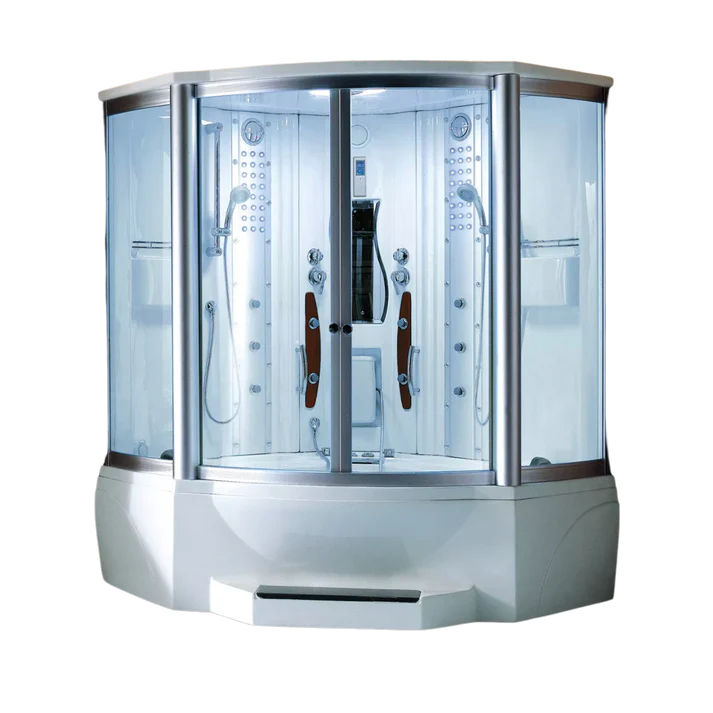
Mesa WS-608A Steam Shower Tub Combo
$3,990.00
$5,985.00
The Mesa 608A This beautiful combination steam shower with a jetted tub is one of our most popular combination steam showers. Featuring 10 acupuncture jets, 10 whirlpool jets, and a high-efficiency steam engine, the 608A steam bath gives you the… read more


